Walking Through Bootlin's Yocto STM32MP1 Lab
If you're new to embedded Linux, "Yocto Project" is one of those names that comes up constantly and sounds intimidating. This post is a friendly, beginner-focused walkthrough of Bootlin's free Lab 1 training, targeting an STM32MP1 development board, including every error I ran into along the way and what it actually meant. If you're starting from zero, this should get you through it without the confusion I had.
Wait, what is Yocto, actually?
When you install Ubuntu or Windows on a laptop, you're using an operating system built by someone else, for general-purpose hardware. Embedded devices (routers, industrial controllers, dev boards like the one in this lab) are different: the hardware is specific, resources (storage, RAM) are limited, and you usually want exactly the software you need and nothing more.
Yocto Project is a set of tools for building your own custom Linux distribution from source code, tailored to a specific board. Instead of installing a pre-made OS, you describe what you want (which kernel version, which libraries, which apps) and Yocto compiles all of it from scratch into a bootable image.
A few terms you'll see a lot:
- BitBake: the actual build tool/engine. You run
bitbake <target>and it figures out everything that needs to be compiled and in what order, kind of like a very smartmake. - Recipe: a file (ending in
.bb) that tells BitBake how to build one piece of software (e.g. the Linux kernel, or a single library). - Layer: a folder full of related recipes, grouped together (e.g. one layer might add support for a specific chip vendor's hardware).
- Image: the final product, a complete root filesystem (plus kernel, bootloader, etc.) ready to run on your board.
- Poky: the "reference" combination of BitBake plus a base set of layers that Yocto ships as a starting point. You build on top of Poky rather than from nothing.
That's genuinely most of the vocabulary you need to follow along.
What you'll need
- A Linux machine (or WSL2 on Windows, which is what I used), ideally Ubuntu, since that's what this lab and most Yocto documentation assumes.
- A good chunk of free disk space (expect the build to use well over 50 GB) and patience. First builds can take hours, since everything compiles from source.
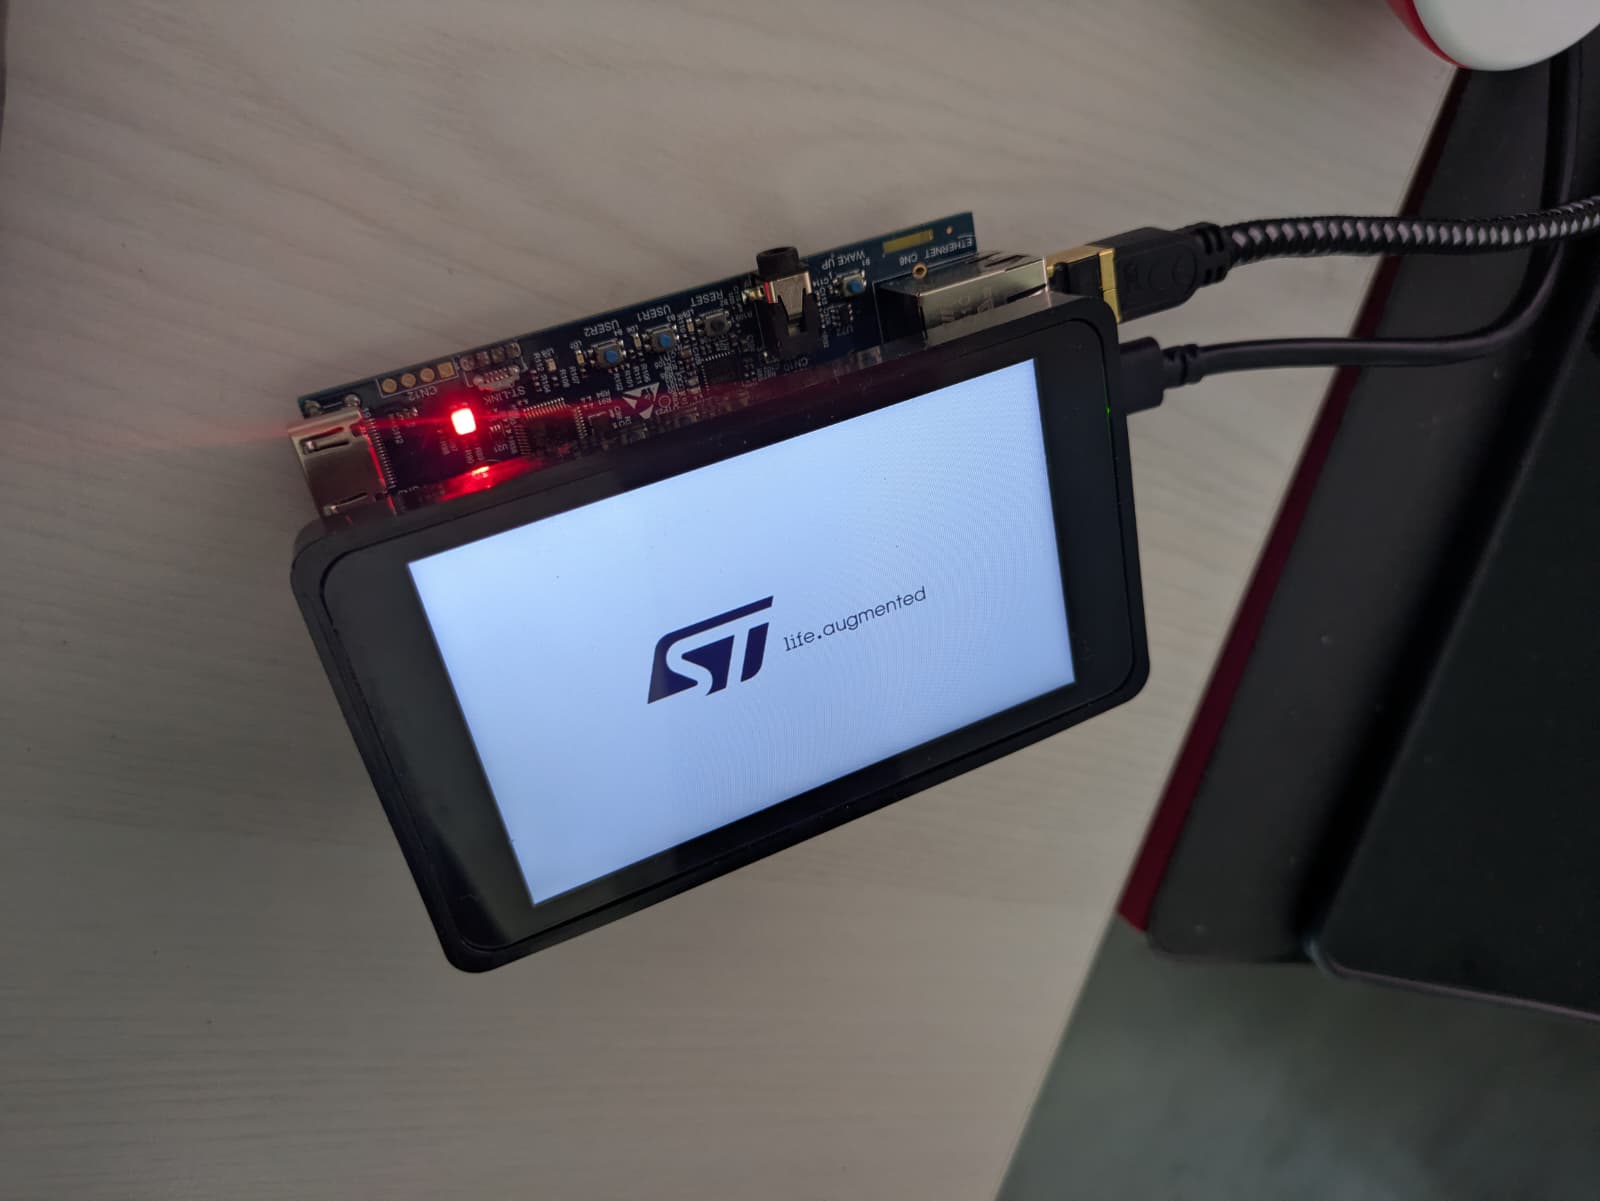
- An STM32MP1 Discovery board, a micro-SD card and reader, and a USB cable for the board's serial debug port.
Step 1: Get the base packages installed
Before touching Yocto itself, install the tools it needs to run:
sudo apt install gawk wget git diffstat unzip texinfo gcc build-essential \
chrpath socat cpio python3 python3-pip python3-pexpect xz-utils debianutils \
iputils-ping python3-git python3-jinja2 python3-subunit zstd liblz4-tool \
file locales libacl1
A gotcha specific to newer Ubuntu
If you're on Ubuntu 24.04, there's a security feature (an apparmor policy) that quietly breaks BitBake's downloading step, with an error like PermissionError: [Errno 1] Operation not permitted. You likely won't see this immediately, but if you do, this fixes it (you'll need to re-run it after every reboot):
echo 0 | sudo tee /proc/sys/kernel/apparmor_restrict_unprivileged_userns
You might also hit an unrelated locale error the very first time you run bitbake:
Please make sure locale 'en_US.UTF-8' is available on your system
Fix:
sudo locale-gen en_US.UTF-8
sudo update-locale LANG=en_US.UTF-8
Then restart your terminal.
Step 2: Download Yocto and the extra layers
We need three things: Poky itself (the base), plus two extra layers that add support for more software packages and for this specific board's chip family (STMicroelectronics).
cd $HOME/yocto-stm32mp1-labs

git clone https://git.yoctoproject.org/git/poky
cd poky
git checkout -b scarthgap-5.0.1 scarthgap-5.0.1

cd $HOME/yocto-stm32mp1-labs
git clone -b scarthgap https://git.openembedded.org/meta-openembedded
git clone https://github.com/STMicroelectronics/meta-st-stm32mp
cd meta-st-stm32mp
git checkout b820cf3a1a855d2bd95969251e6465e281502759
Each of these git clone commands is just downloading a folder full of recipes and configuration written by other people. You're not writing any of this yourself, just assembling the pieces.
Step 3: Set up your build environment
This is a one-time-per-terminal-session step. Yocto needs a bunch of environment variables set before bitbake will work at all:
cd $HOME/yocto-stm32mp1-labs
source poky/oe-init-build-env
This also creates (and drops you into) a build/ directory, which is where all the generated output will live. It's kept separate from the source layers on purpose.
Inside build/conf/local.conf, tell it which board you're targeting:
MACHINE = "stm32mp1"
And inside build/conf/bblayers.conf, add the paths to the two extra layers you cloned, so BitBake actually knows to use them.
Finally, set a git identity (some recipes fail without one, oddly enough):
git config --global user.name "Your Name"
git config --global user.email "your@email.com"
Step 4: Build it
The moment of truth:
bitbake core-image-minimal
core-image-minimal is the name of the specific image recipe we're building, a small, bare-bones Linux system. This one command triggers the compilation of the toolchain, the kernel, hundreds of libraries, and the final filesystem, all from source. Expect this to take a long time on a first run (multiple hours is completely normal), and expect the terminal to fill up with scrolling text about downloading and compiling.
If it fails partway through, don't panic
Long builds involving hundreds of packages are statistically likely to hit something. Here are the two real errors I ran into, both host-environment issues rather than anything wrong with my actual instructions:
"fatal error: pthread.h: No such file or directory" during a package called libgcc-initial. This looks like a missing library, but it's actually a sign that an earlier build step (staging kernel headers) left things in a broken, half-finished state, often from an interrupted previous build. The fix is to tell BitBake to throw away its cached progress for the affected pieces and redo them cleanly:
bitbake -c cleansstate linux-libc-headers libgcc-initial
bitbake -c compile libgcc-initial
Then just re-run bitbake core-image-minimal. It picks up where it left off.
A huge wall of tar errors ending in something like got *at() syscall for unknown directory, while packaging linux-libc-headers. This one is specific to Ubuntu 24.04: it ships a newer version of the tar program (1.35) that isn't compatible with a tool Yocto uses internally called pseudo (which lets the build fake "root" file permissions without you actually needing to be root). The fix is to install an older, compatible version of tar:
sudo apt install tar=1.34+dfsg-1build3
If Ubuntu's default package list doesn't have that exact version, you can grab it manually from the older 22.04 release's package archive:
wget http://archive.ubuntu.com/ubuntu/pool/main/t/tar/tar_1.34+dfsg-1build3_amd64.deb
sudo dpkg -i tar_1.34+dfsg-1build3_amd64.deb
Then clean and rebuild the same way as above.
The general lesson here: if a build error mentions something that sounds unrelated to your actual code (like a missing system header, or a low-level syscall problem), it's very often a host environment mismatch rather than something wrong with the Yocto instructions themselves, especially if you're on a newer Ubuntu version than the one the training was written for.
Step 5: Find your board's flash layout file
Once the build finishes successfully (bitbake prints a summary line ending in "all succeeded" with 0 failed tasks), your output lives under:
build/tmp/deploy/images/stm32mp1/
To get this onto an SD card, ST provides a script and a set of .tsv files describing how the SD card should be partitioned, one file per exact board variant. This tripped me up: STM32MP1 boards come in multiple chip variants (letters like A, C, D, F) and kit revisions (DK1, DK2, EV1...), and you need the file that matches your specific board, not just whatever example the instructions show.
Check the exact chip printed on your board, then confirm the matching file actually exists:
find build/tmp/deploy/images/stm32mp1/flashlayout_core-image-minimal/ -iname "*.tsv"
Pick the one under the extensible/ folder matching your board (mine was FlashLayout_sdcard_stm32mp157f-dk2-extensible.tsv).
Step 6: Generate the SD card image
cd build/tmp/deploy/images/stm32mp1/scripts
./create_sdcard_from_flashlayout.sh \
../flashlayout_core-image-minimal/extensible/FlashLayout_sdcard_stm32mp157f-dk2-extensible.tsv
This produces a single .raw file: essentially a complete, ready-to-write disk image containing the bootloader, kernel, and filesystem all pre-arranged into partitions, matching the specific layout your board expects.
Important beginner tip: always double-check that this actually worked before flashing anything. Scroll up through the output and look for a list of named partitions (things like fsbl1, bootfs, rootfs) with real sizes. If instead you see an empty table with no partitions listed, something went wrong upstream (usually: the .tsv file path was wrong, or your image build hadn't actually finished). Flashing that file will silently produce a "dead" SD card that shows no signs of life when you boot it, with no error message to explain why.
Step 7: Flash the SD card
First, figure out which device your SD card actually is. This step is genuinely dangerous if you get it wrong, since dd will overwrite whatever device you point it at with no confirmation prompt.
lsblk
Look for a device matching your SD card's actual size. On regular Linux this is often /dev/mmcblk0; on WSL2 with a USB card reader, it usually shows up as a generic disk like /dev/sdX.
sudo umount /dev/sdX* 2>/dev/null
sudo dd if=FlashLayout_sdcard_stm32mp157f-dk2-extensible.raw of=/dev/sdX bs=8M conv=fdatasync status=progress
Afterward, sanity-check the result:
sudo sgdisk /dev/sdX -p
You should see a real list of named partitions. If you don't, go back to Step 6. You likely flashed an incomplete image.
Step 8: Talk to the board over serial
Plug the board's USB debug cable (labeled ST-LINK) into your computer. This should create a serial device, usually named something like /dev/ttyACM0.
Install a terminal program and give yourself permission to use serial ports:
sudo apt install picocom
sudo adduser $USER dialout
Log out and back in fully for the group permission to take effect (or type newgrp dialout as a quick temporary workaround in your current terminal).
If you're using WSL2, one extra step: USB devices don't automatically show up inside WSL. You need to explicitly attach them from a Windows PowerShell window first:
usbipd list
usbipd attach --wsl --busid <BUSID-from-the-list>
Then start the serial connection:
picocom -b 115200 /dev/ttyACM0
Step 9: Boot it
Insert the SD card into the board, then connect the power cable. You should see a stream of boot messages scroll across your picocom window, ending in a login prompt:
Poky (Yocto Project Reference Distro) 5.0.1 stm32mp1
stm32mp1 login: root
root@stm32mp1:~#
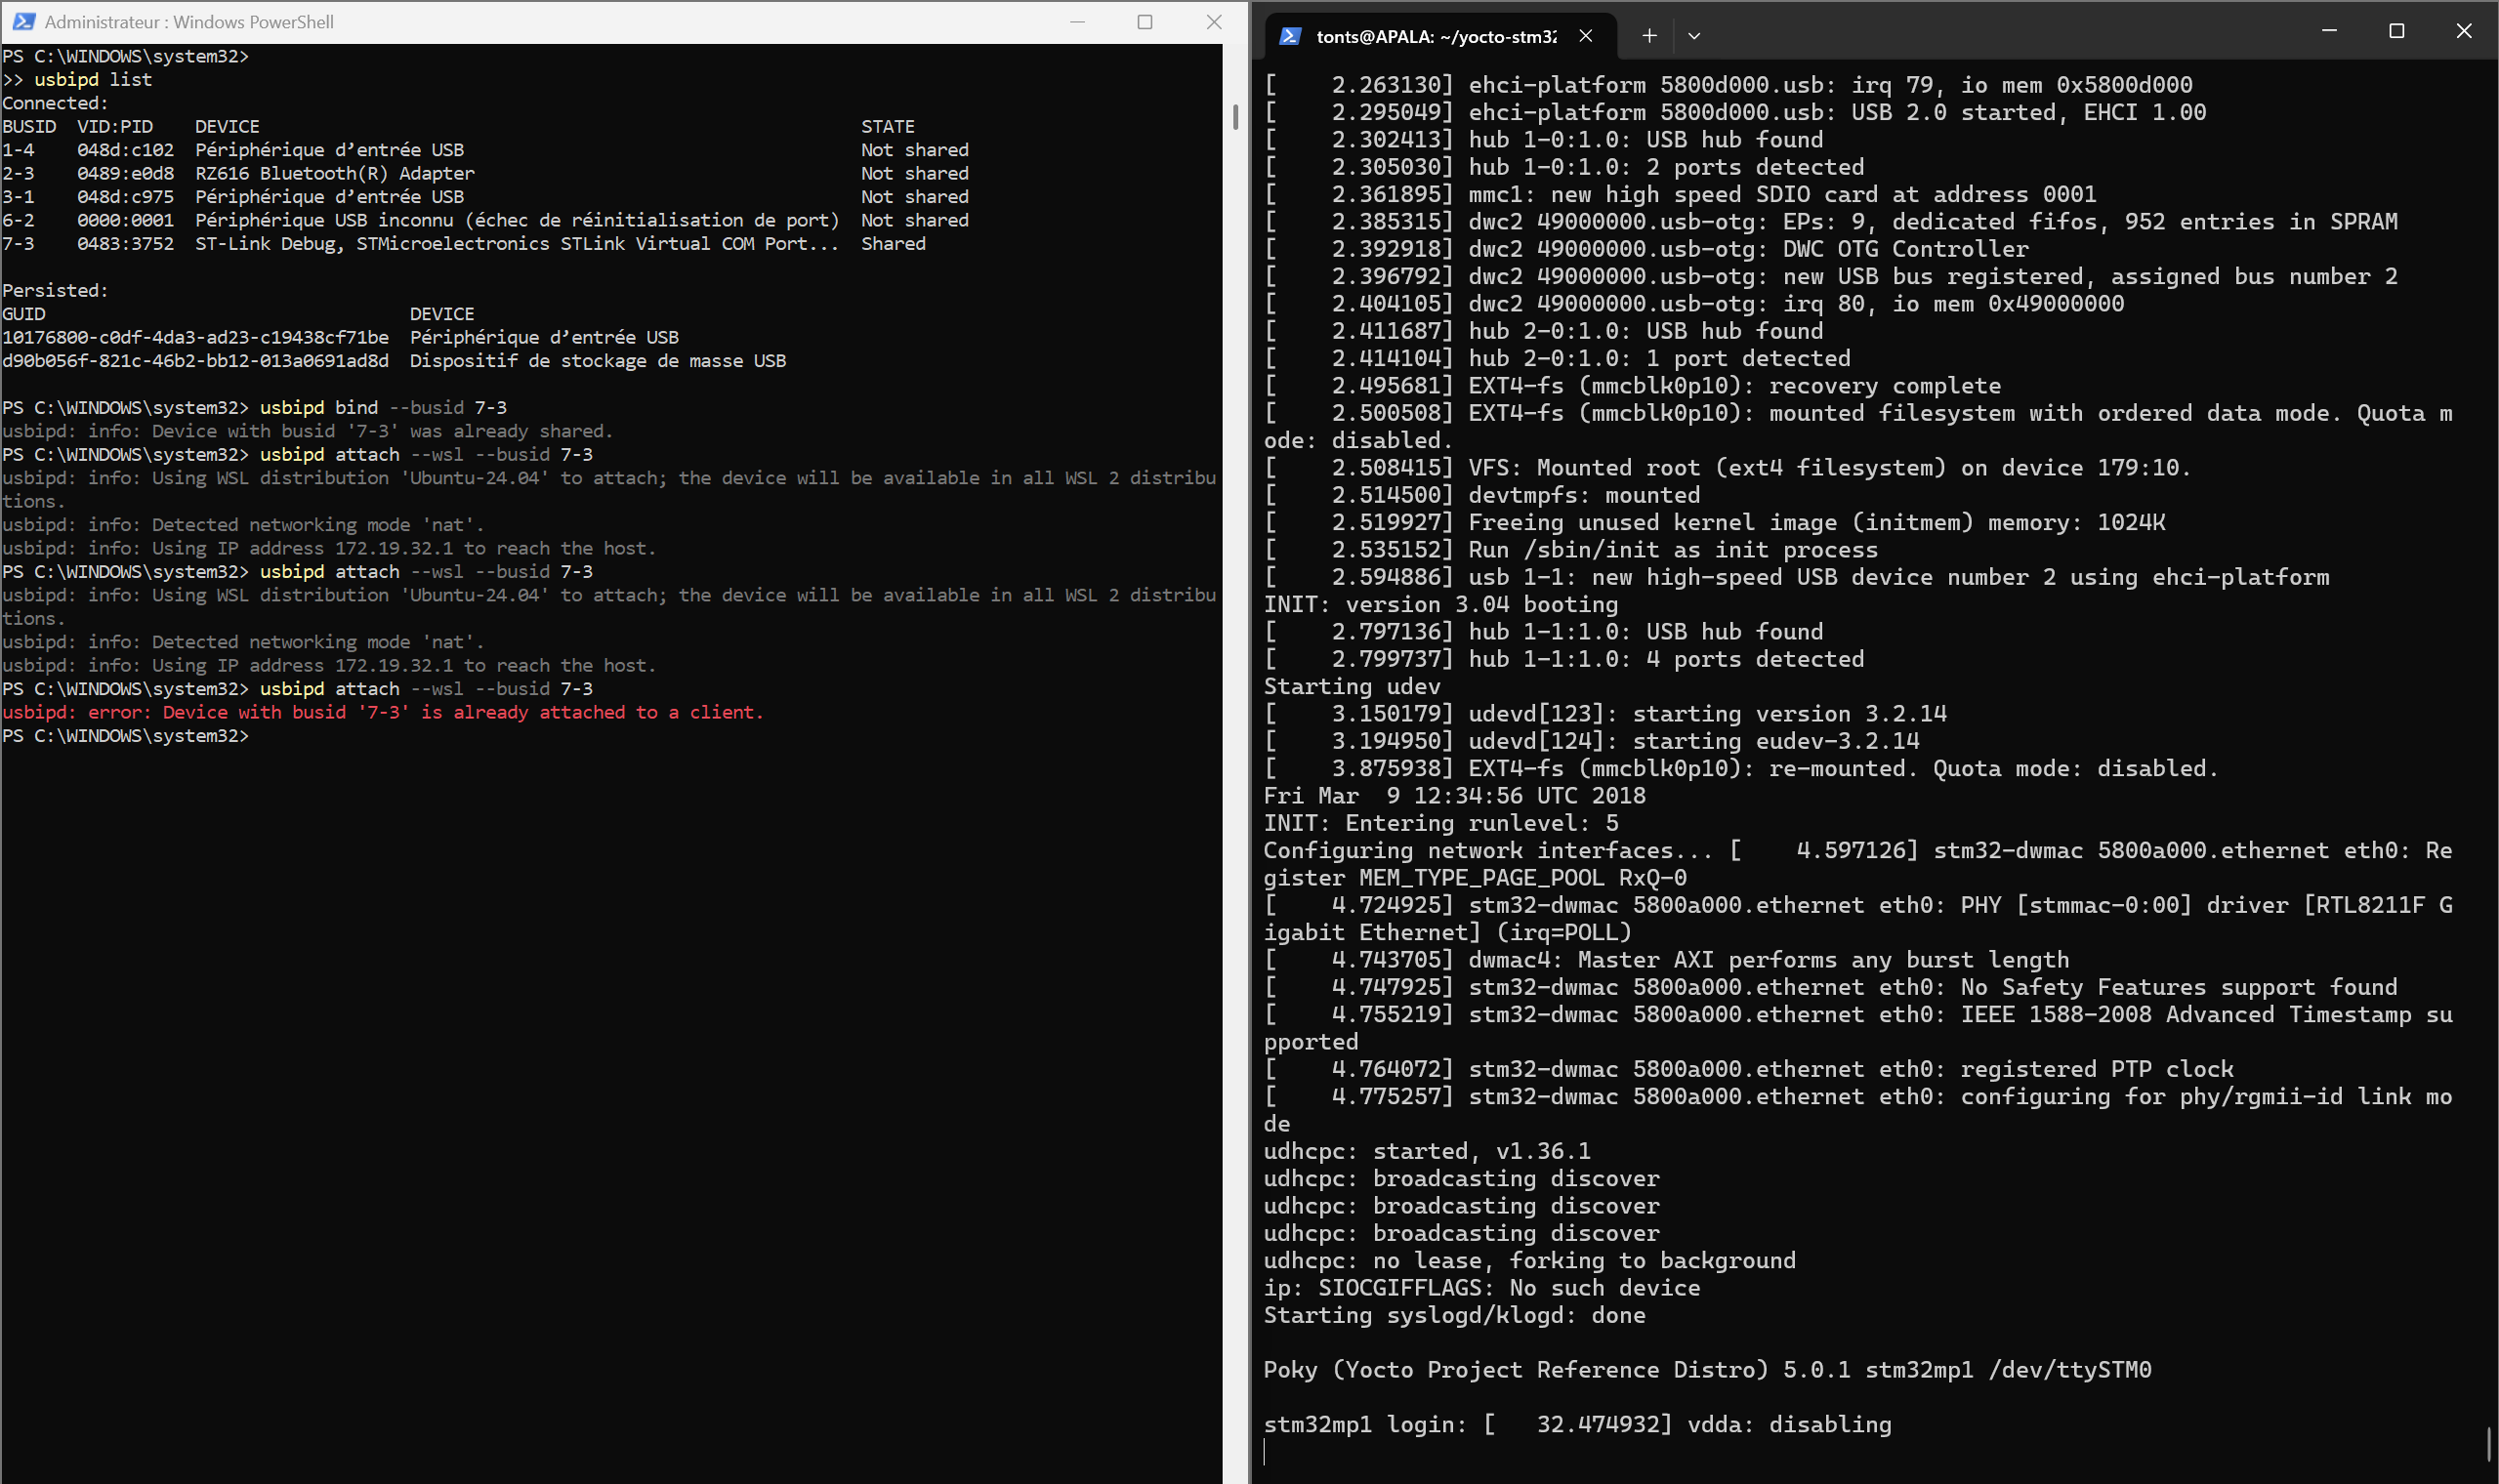
If you see that prompt and can type commands, congratulations: you've just built and booted a completely custom embedded Linux system from source. Everything on that board, down to the bootloader, was compiled by your machine following instructions you (mostly) wrote yourself.
If something doesn't work
A short, honest checklist for the most common newbie stumbling points:
- No serial output at all: usually means either the board isn't powered, the SD card wasn't flashed correctly (check the partition table with
sgdisk), or (on WSL2) the USB serial device was never attached to WSL in the first place. - Build errors mentioning missing system files: often a host-environment issue (wrong tool version, leftover corrupted build state) rather than something wrong with your commands. Try cleaning the specific failing recipe with
bitbake -c cleansstate <recipe-name>and rebuilding. - Wrong device flashed: always run
lsblkimmediately beforedd, every single time, even if you're sure you remember the device name from last time.
Yocto has a steep first climb, but almost none of it is actually about being "smart enough." It's about patience, reading error messages carefully, and knowing that a wall of red text usually has one simple root cause hiding in it somewhere. Good luck with your build!